Raspberry Pi & IoT – Introduction
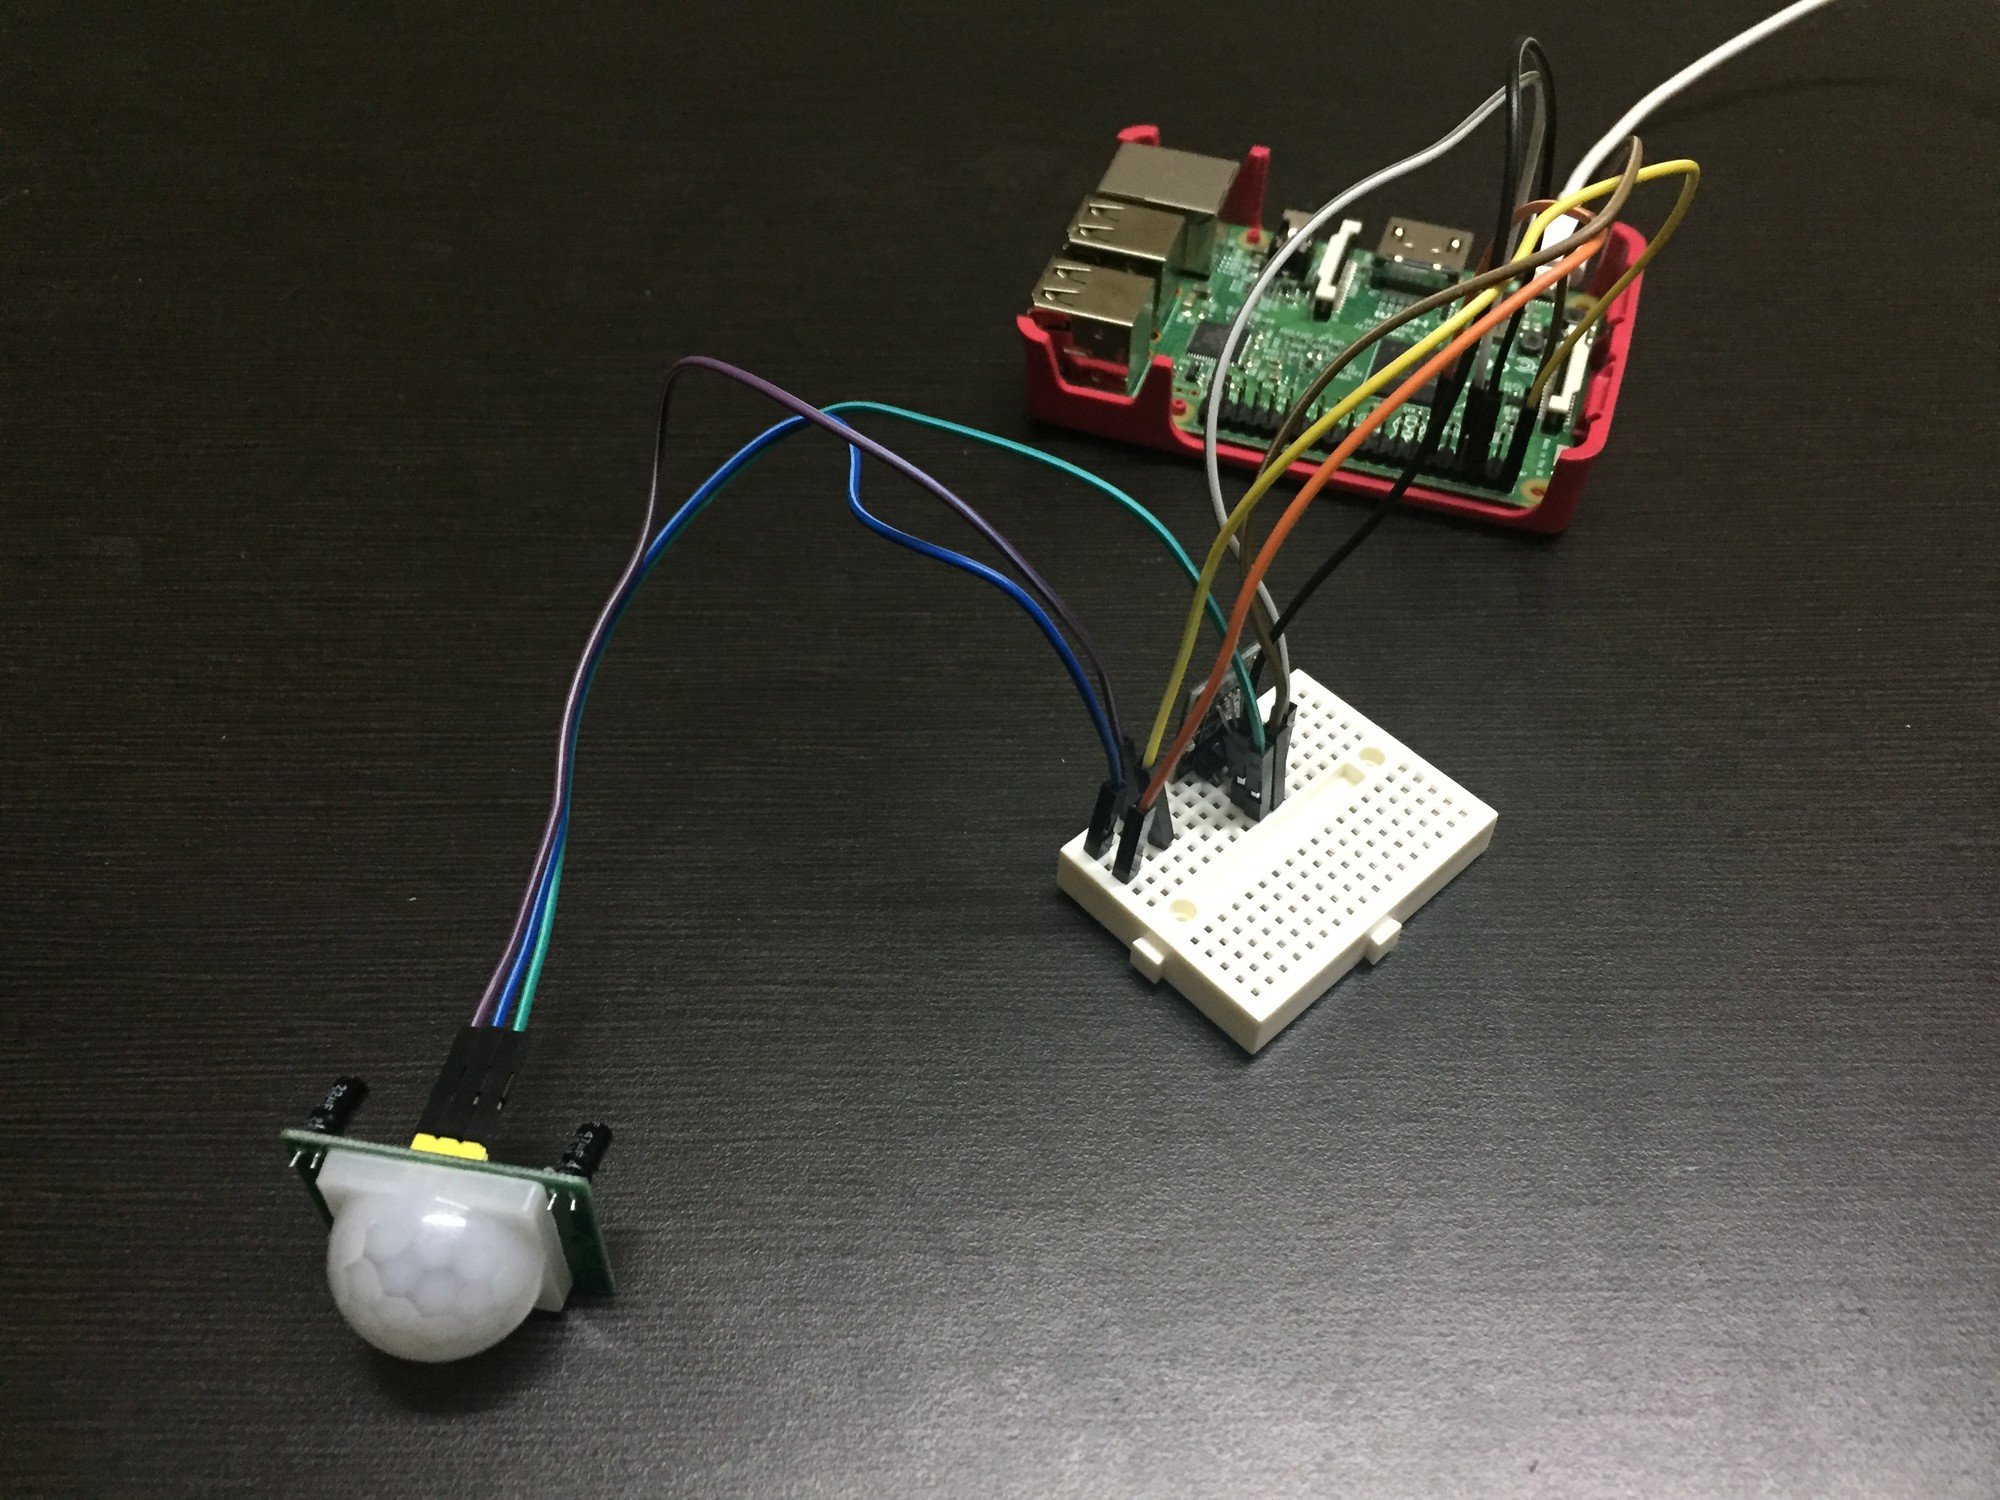
Fig 1.0 The Final Setup
The Raspberry Pi is a low cost, credit-card sized computer that can do almost everything that a regular computer can. Priced at only $35, this device is already being extensively used in the filed of education; where it is being used for imparting computer science education, especially to the underprivileged who are unable to bear the cost of the result computers. The Raspberry Pi comes with programming languages Python. C, C++, Java, Scratch, & Ruby all come pre-installed by default. It has 802.11n Wi-Fi (Wireless) and Bluetooth LE (aka Bluetooth 4.1) capabilities also, all these features make it an extremely useful device for the student community.
But the value preposition of the Raspberry Pi is so strong that in addition to the education field, the Pi is also creating waves in the technology arenas, where it is being used for IoT proof of concepts and all kind of innovations. One of the main reasons for this are the GPIO pins on the board that enable all kinds of IoT devices to interact with the Pi. This capability can then harnessed for shipping the sensor data from the other to other data analytics devices for doing a wide variety of things.
Raspberry Pi – Technical Specs ?
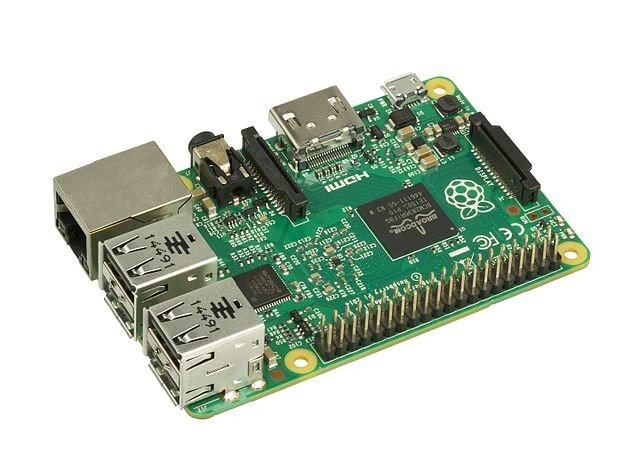
The Raspberry Pi is a small computer or for better understanding we might call it an integrated motherboard, which has the processor, ram , wifi , bluetooth modules integrated on the board itself.
Find below the technical specification of the Pi.
SoC: Broadcom BCM2837 64-bit system-on-chip
CPU: 4X ARM Cortex-A53, 1.2GHz
GPU: Broadcom VideoCore IV
RAM: 1GB LPDDR2 (900MHz)
Networking: 10/100 ethernet, 2.4GHz 802.11n wireless
Bluetooth: Bluetooth 4.1 Classic, Bluetooth Low Energy
Storage: microSD
GPIO: 40-pin header, populated
Ports: HDMI, 3.5mm analogue audio-video jack, 4X USB 2.0, ethernet, Camera Serial Interface (CSI), Display Serial Interface (DSI)
It is clear from these specification that Pi is quiet powerful and will suffice for a wide variety of end user requirements.
The Pi works with a computer monitor or TV, and uses a standard USB keyboard and mouse. And can also be remotely used (using ssh or Putty) once its setup on the network.
For further information about the Raspberry Pi please see my video below. This video is an introduction to the Raspberry Pi, in which i’ll do the unboxing of the Pi & run through the basic feature set of a Raspberry Pi 3 Model B.
In the next blogpost I would be doing an IoT project using two sensors
DS18B20 Temp Sensor (with onboard 4k7 ohm resistor)
Hc-Sr501 PIR Motion Sensor
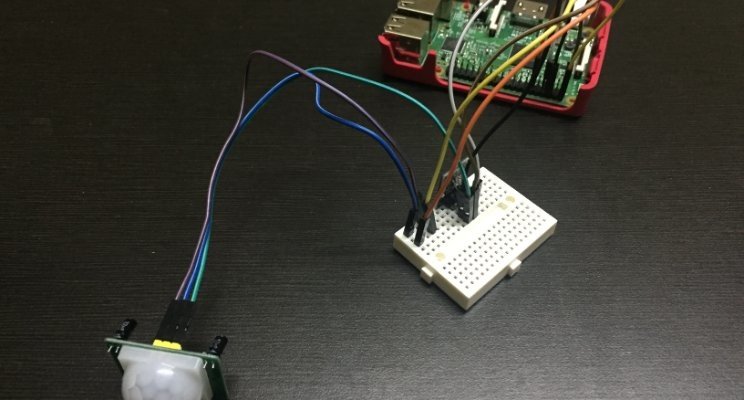
The complete Pi-Sensor-Breadboard-JumperWire assembly looks like this.
And the final dashboard looks like this. This dashboard shows the real time temperature and we can get it to send emails or trigger some other functions based on some preset metrics / alerts (e.g when room temp crosses 35 degree)
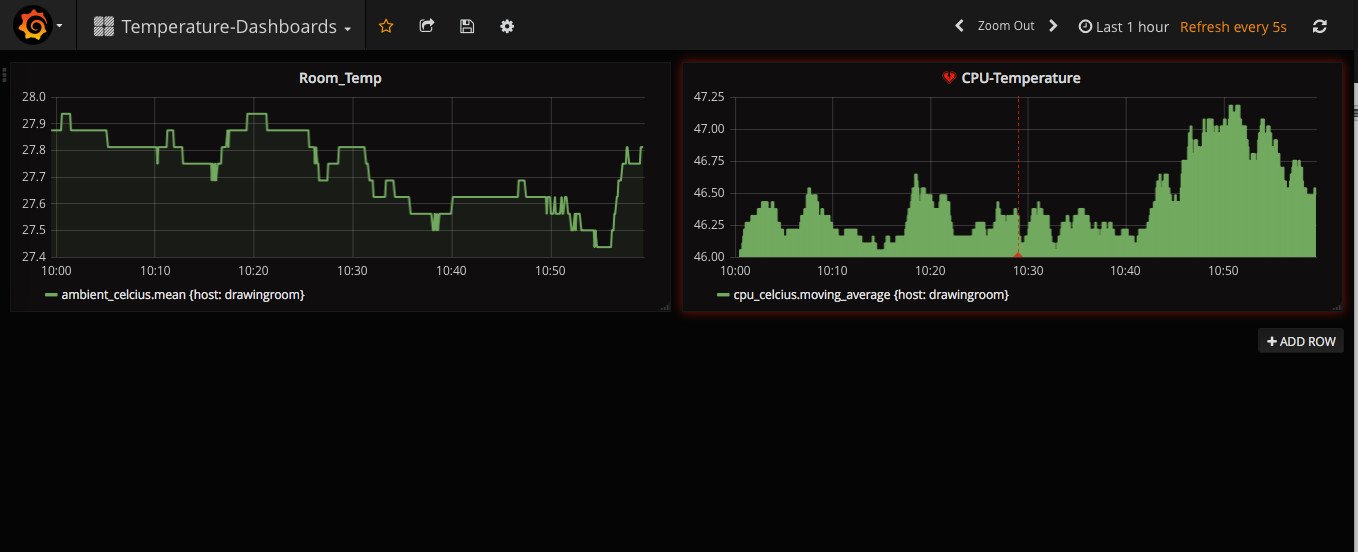
Grafana Dashboard
In this blog post I introduced the Raspberry Pi and the concept of how we would use it with sensors for creating an IoT system. In my next blog i'll write about details of the complete process, along with the code.